What kind of photos should I take?
What to Photograph
Use the checklist below as a guide for the kinds of photos to take. We also provide a photo gallery with sample captions, so you can see what we photograph and how we describe it.
You don’t need technical vocabulary. If you don’t know terms like soffit or fascia, that’s completely fine—most homeowners don’t. What matters most is capturing clear photos that show your home’s condition before something happens.
Exterior Photos
All sides of the home: Take photos of each side to show the condition of siding, brick, stucco, and trim. Minor wear—like small mortar cracks, peeling paint, or lawn-mower nicks in vinyl—is normal. The goal is simply to document what it looked like.
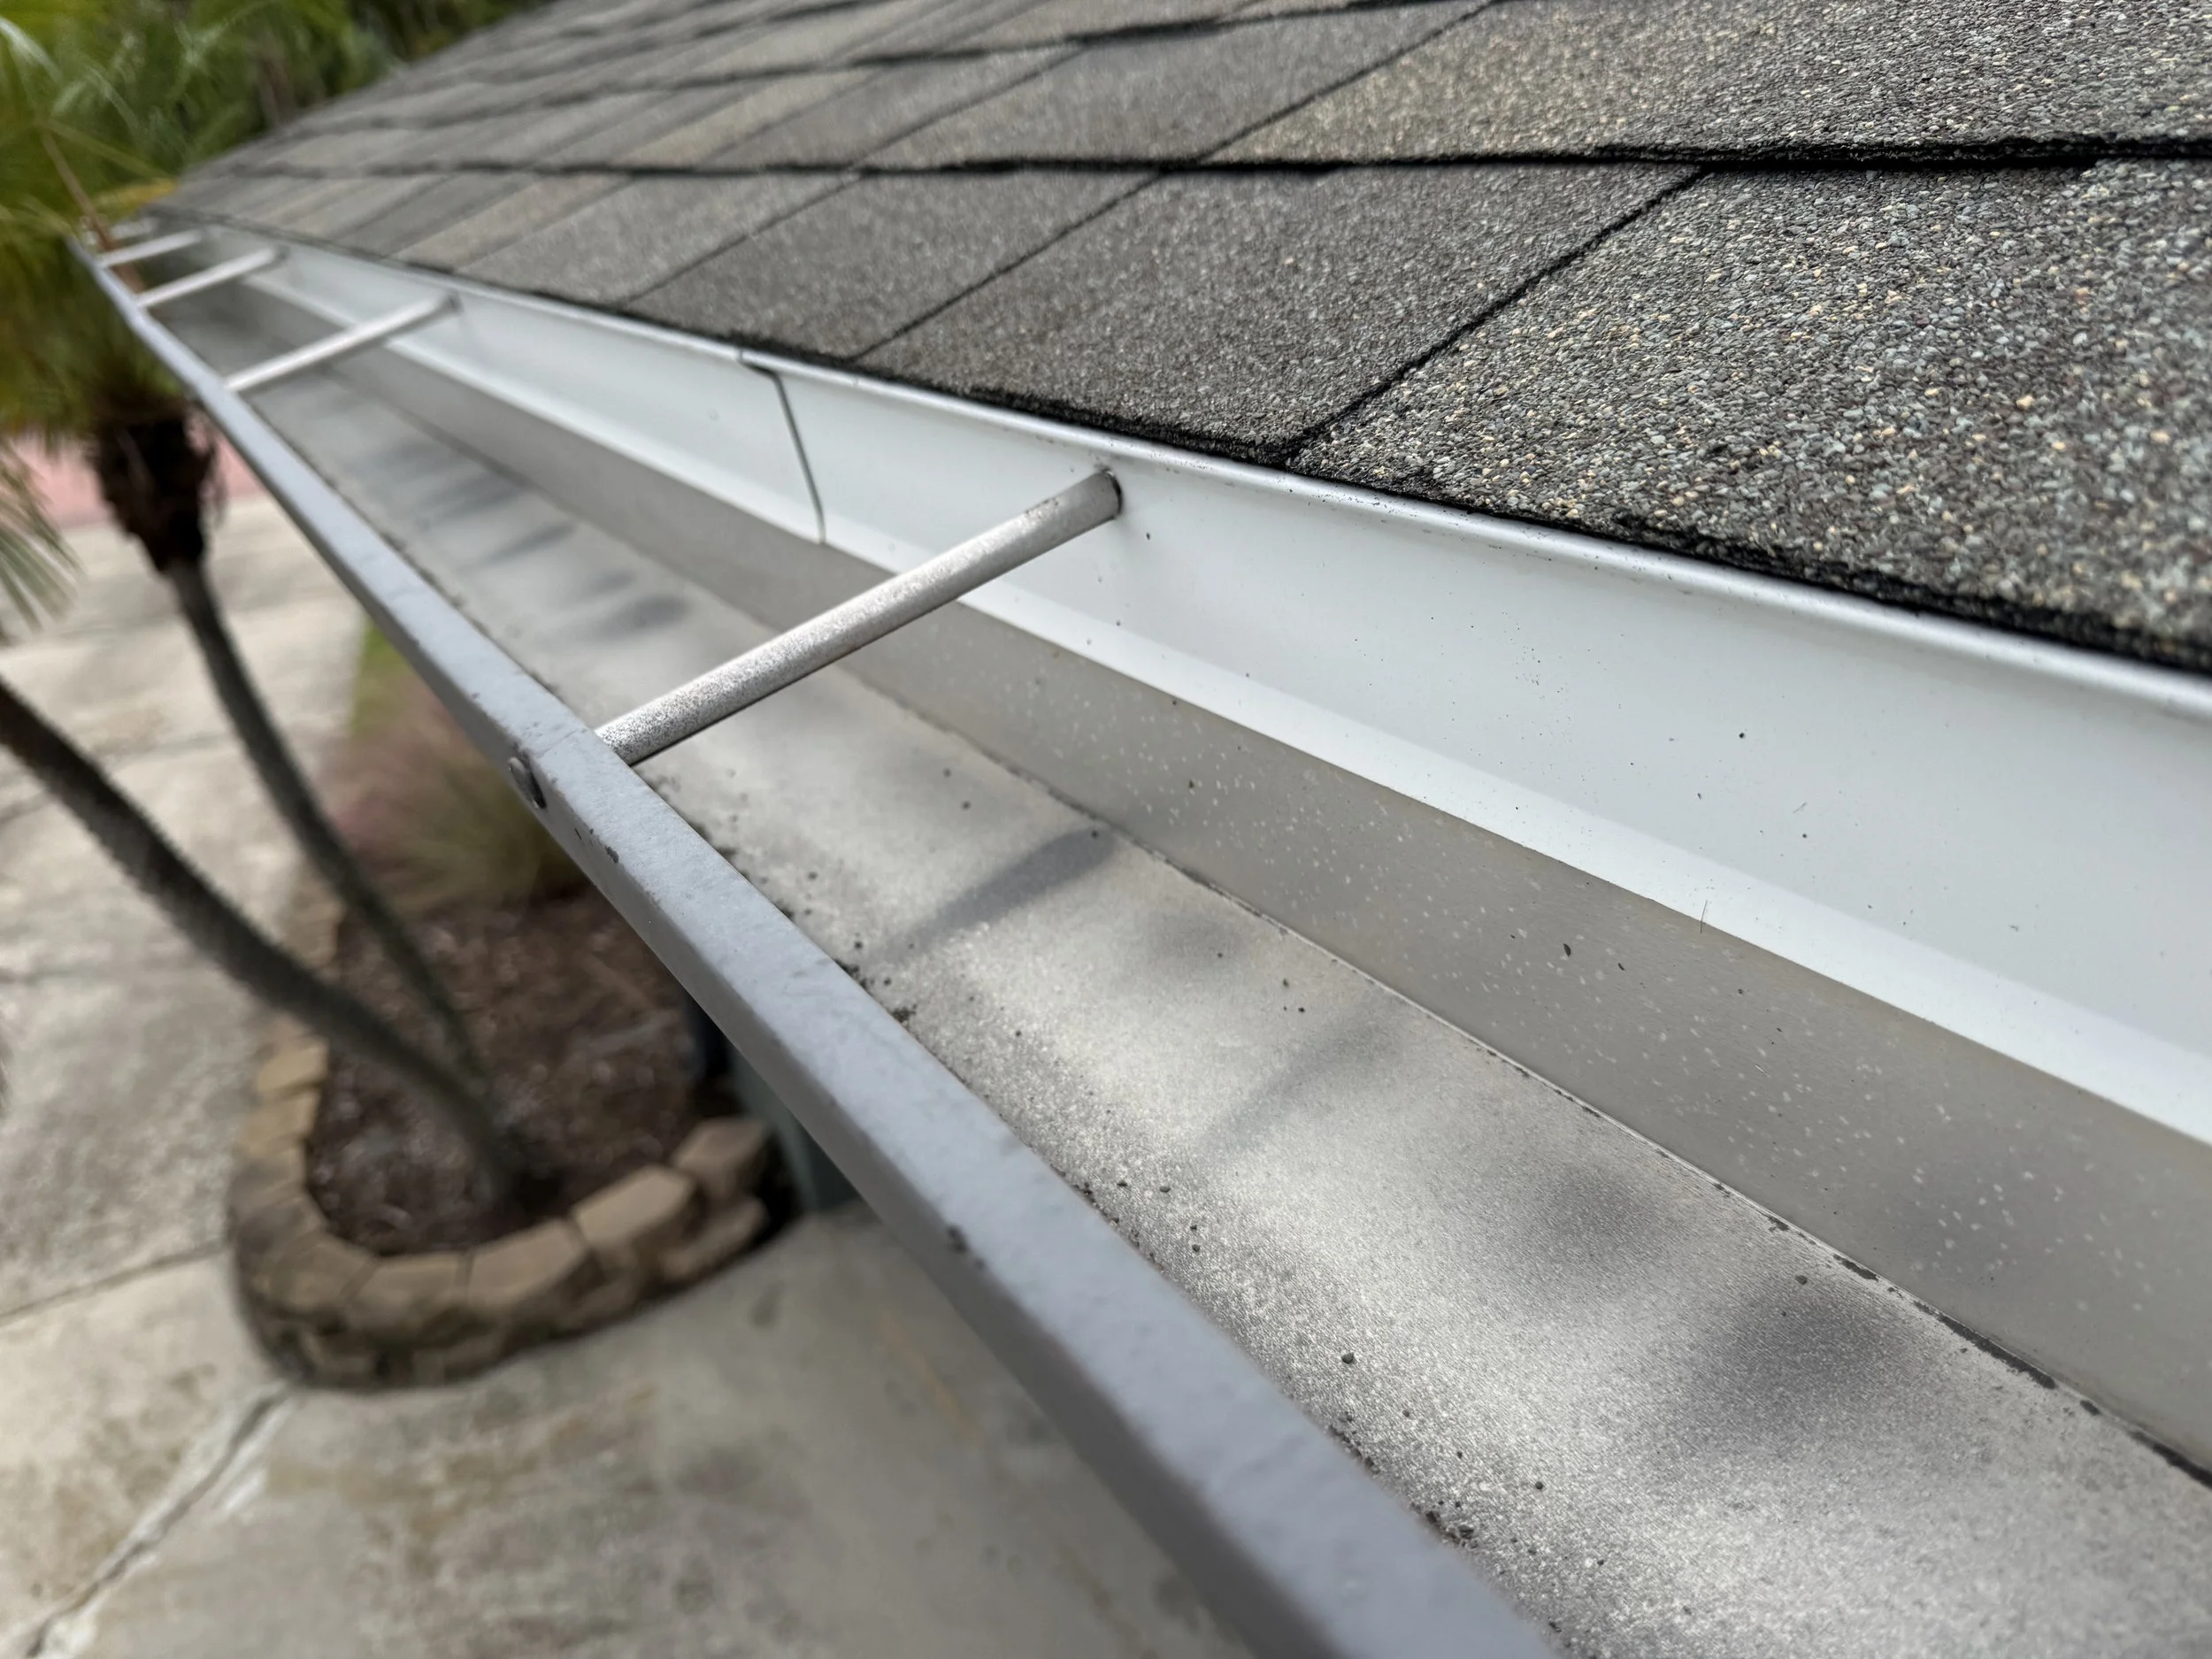
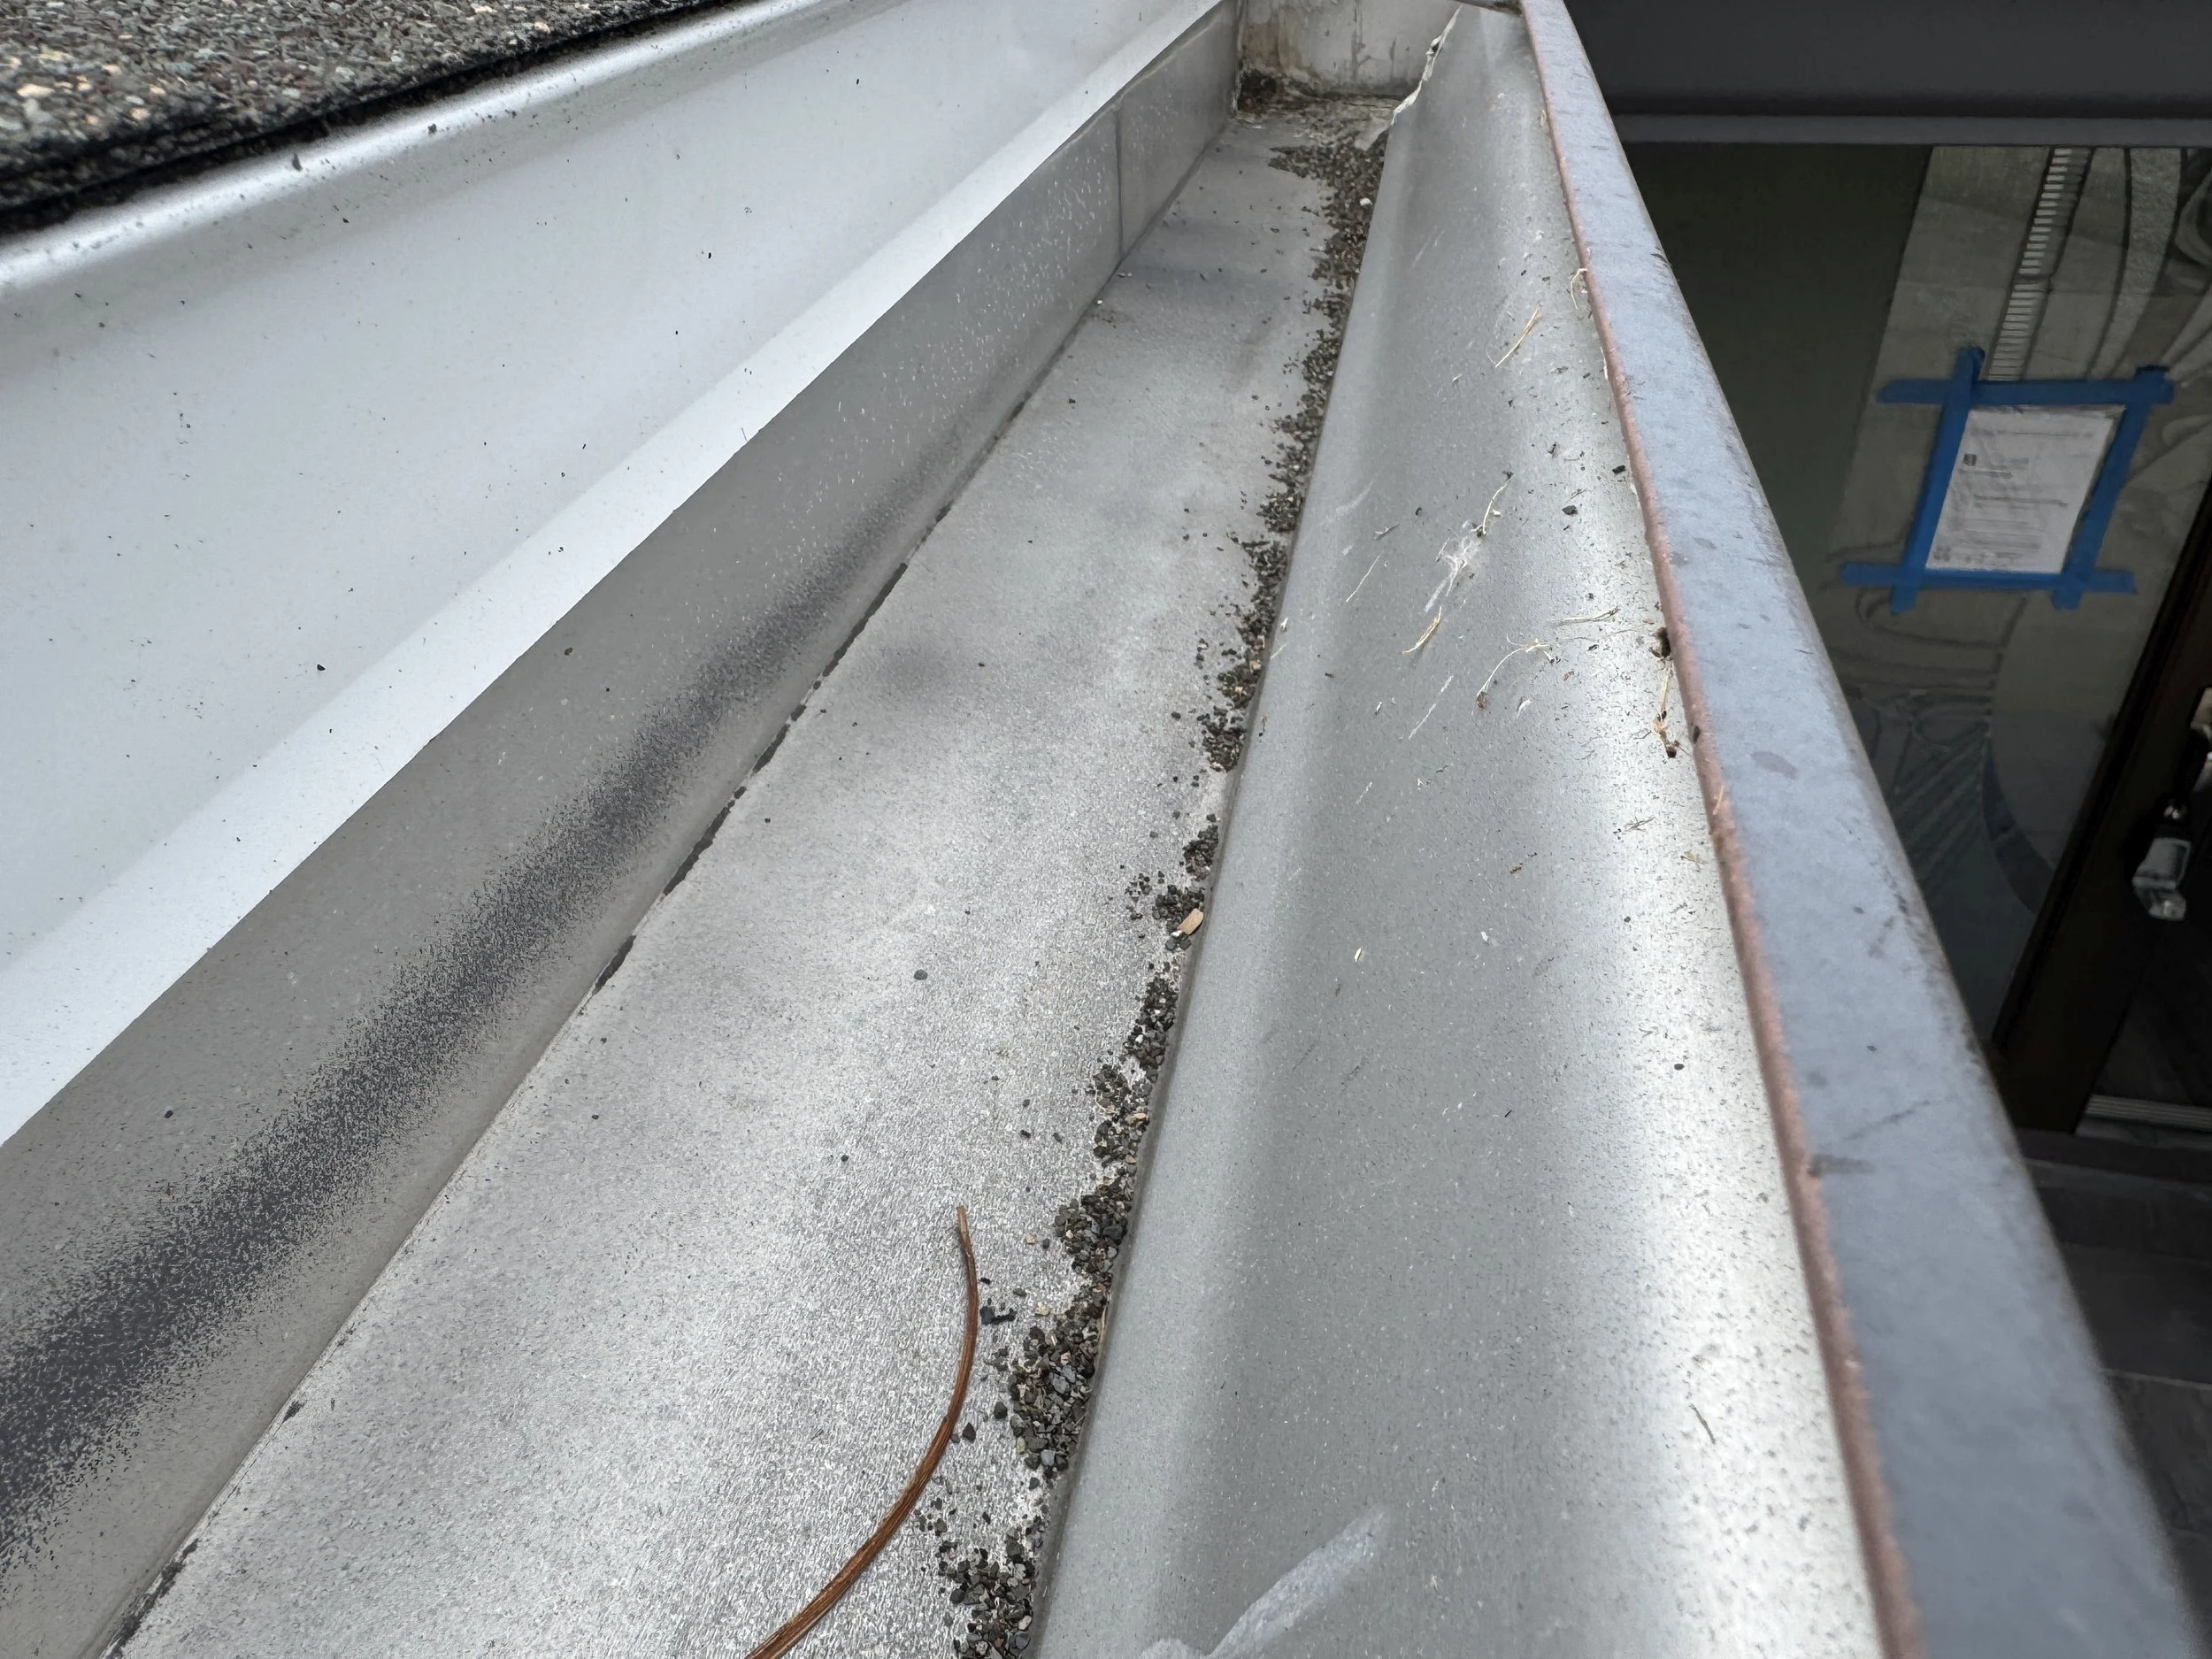
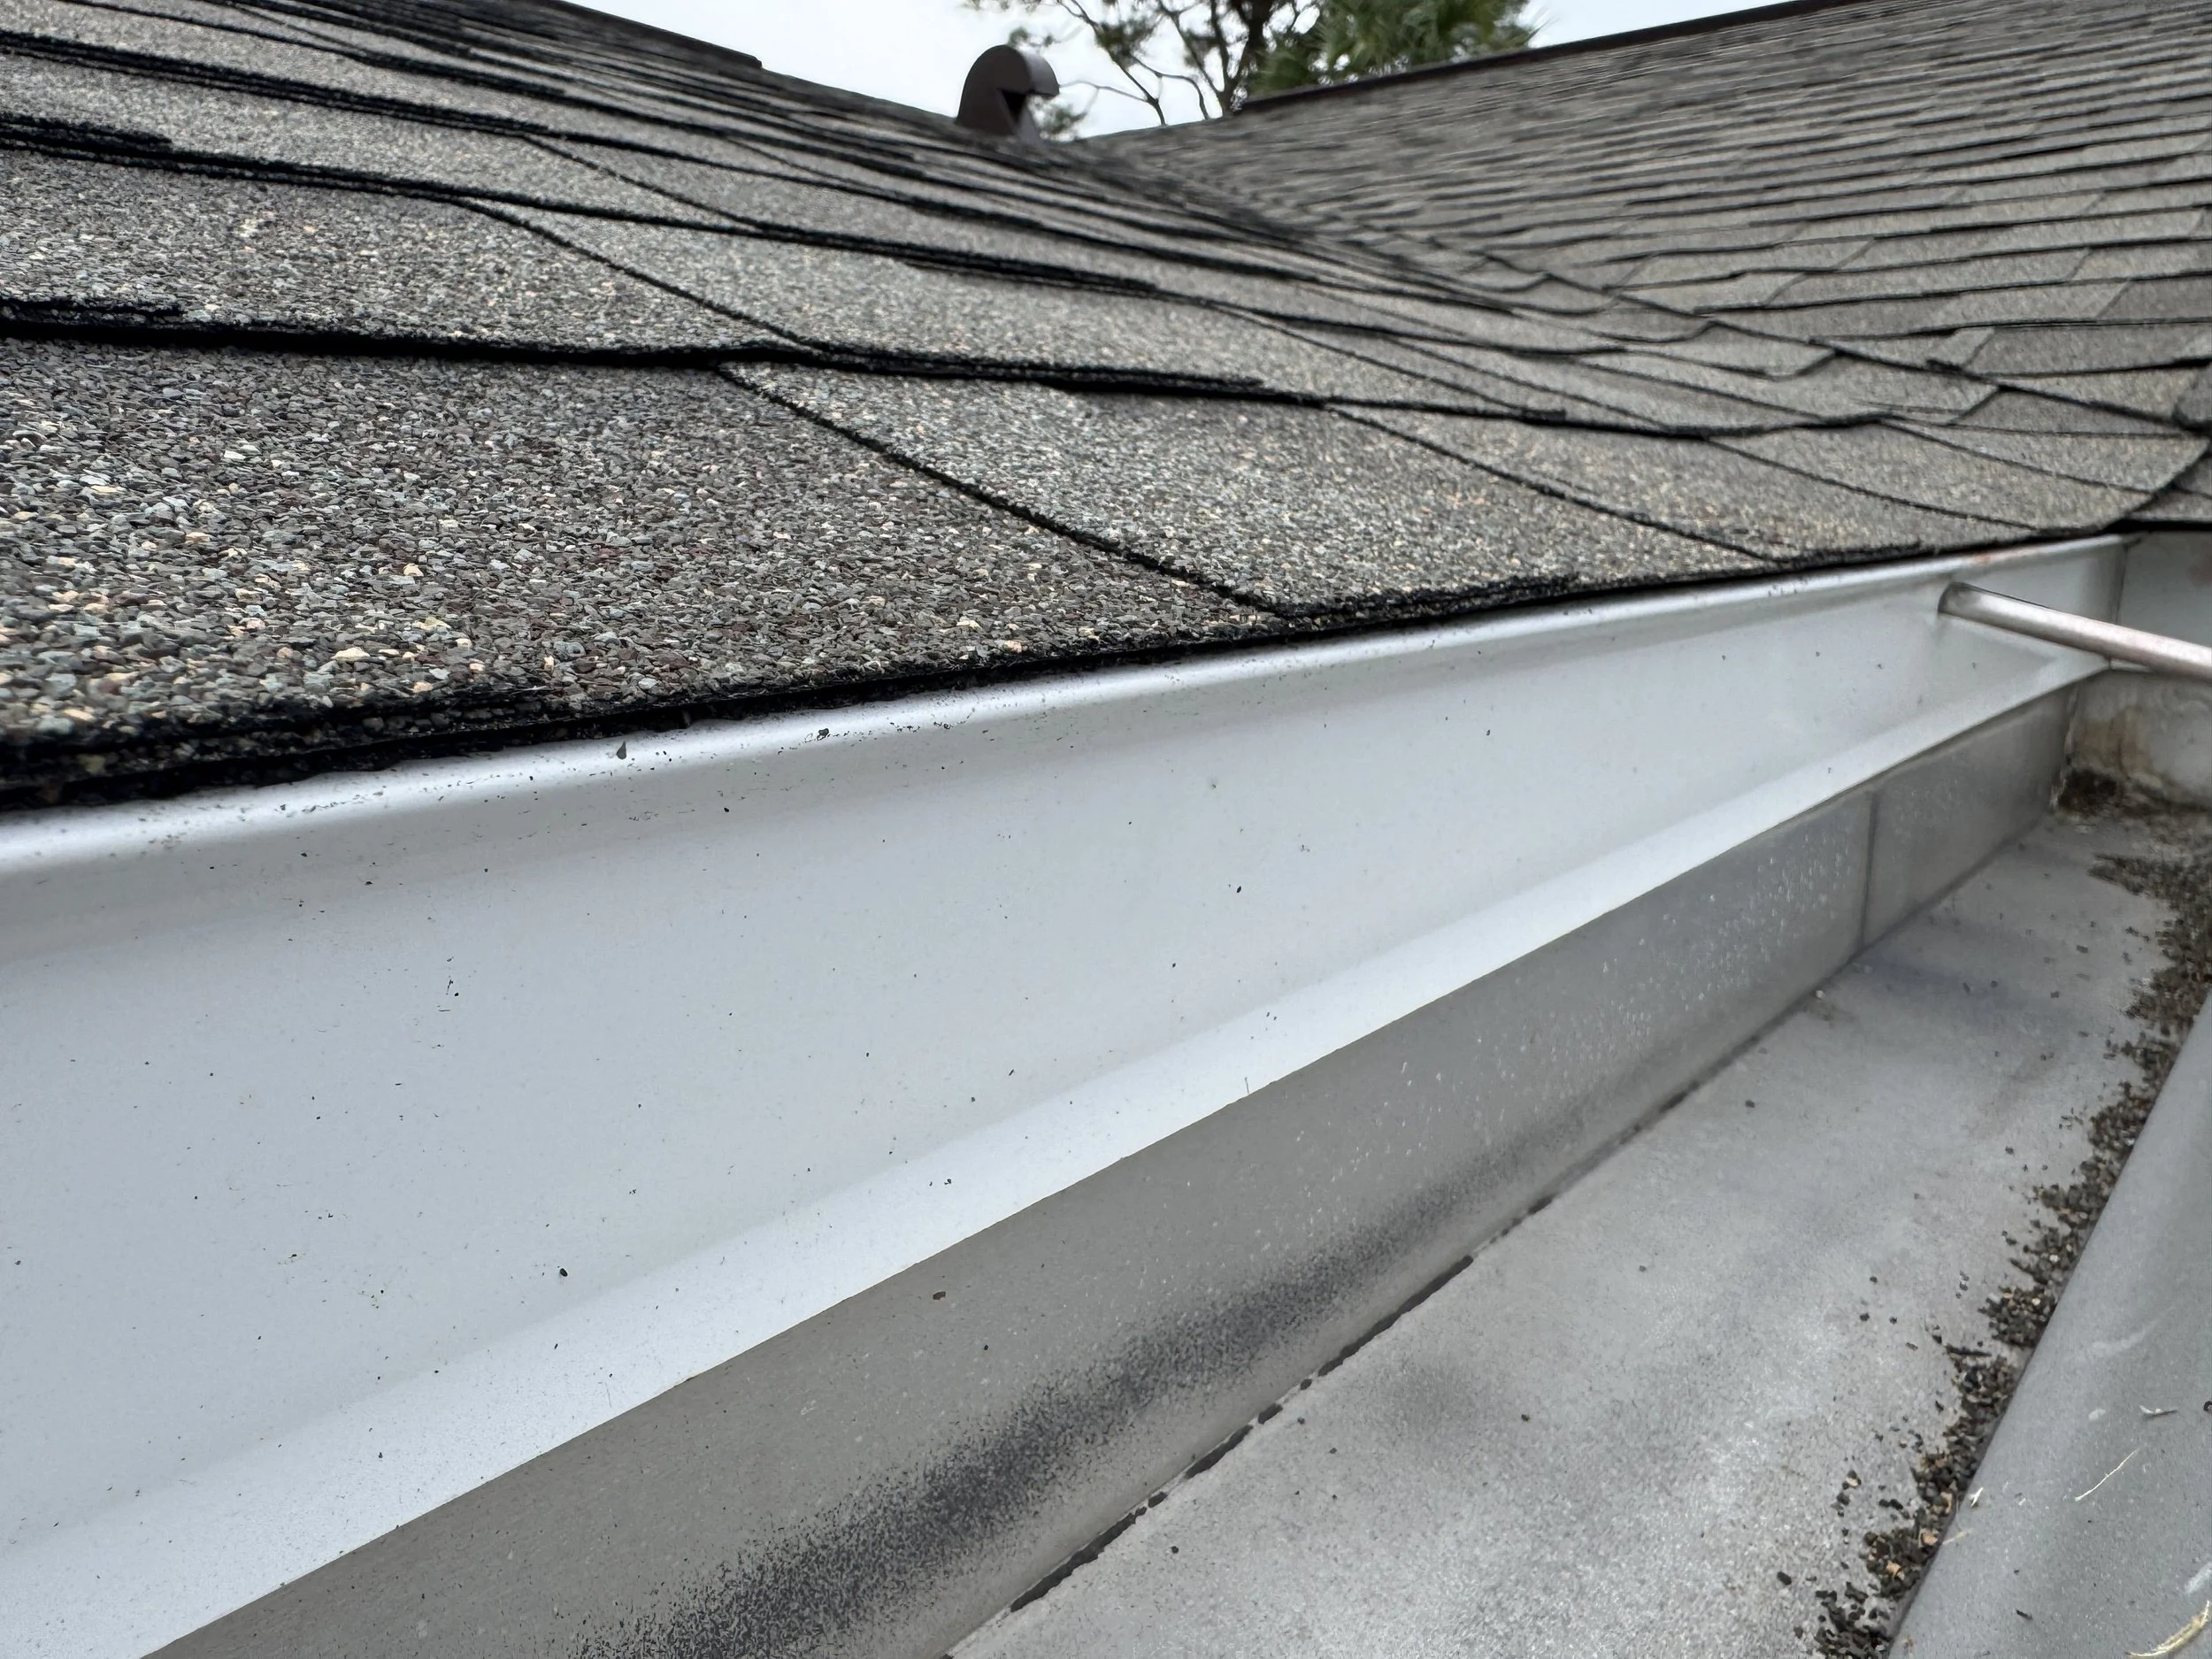
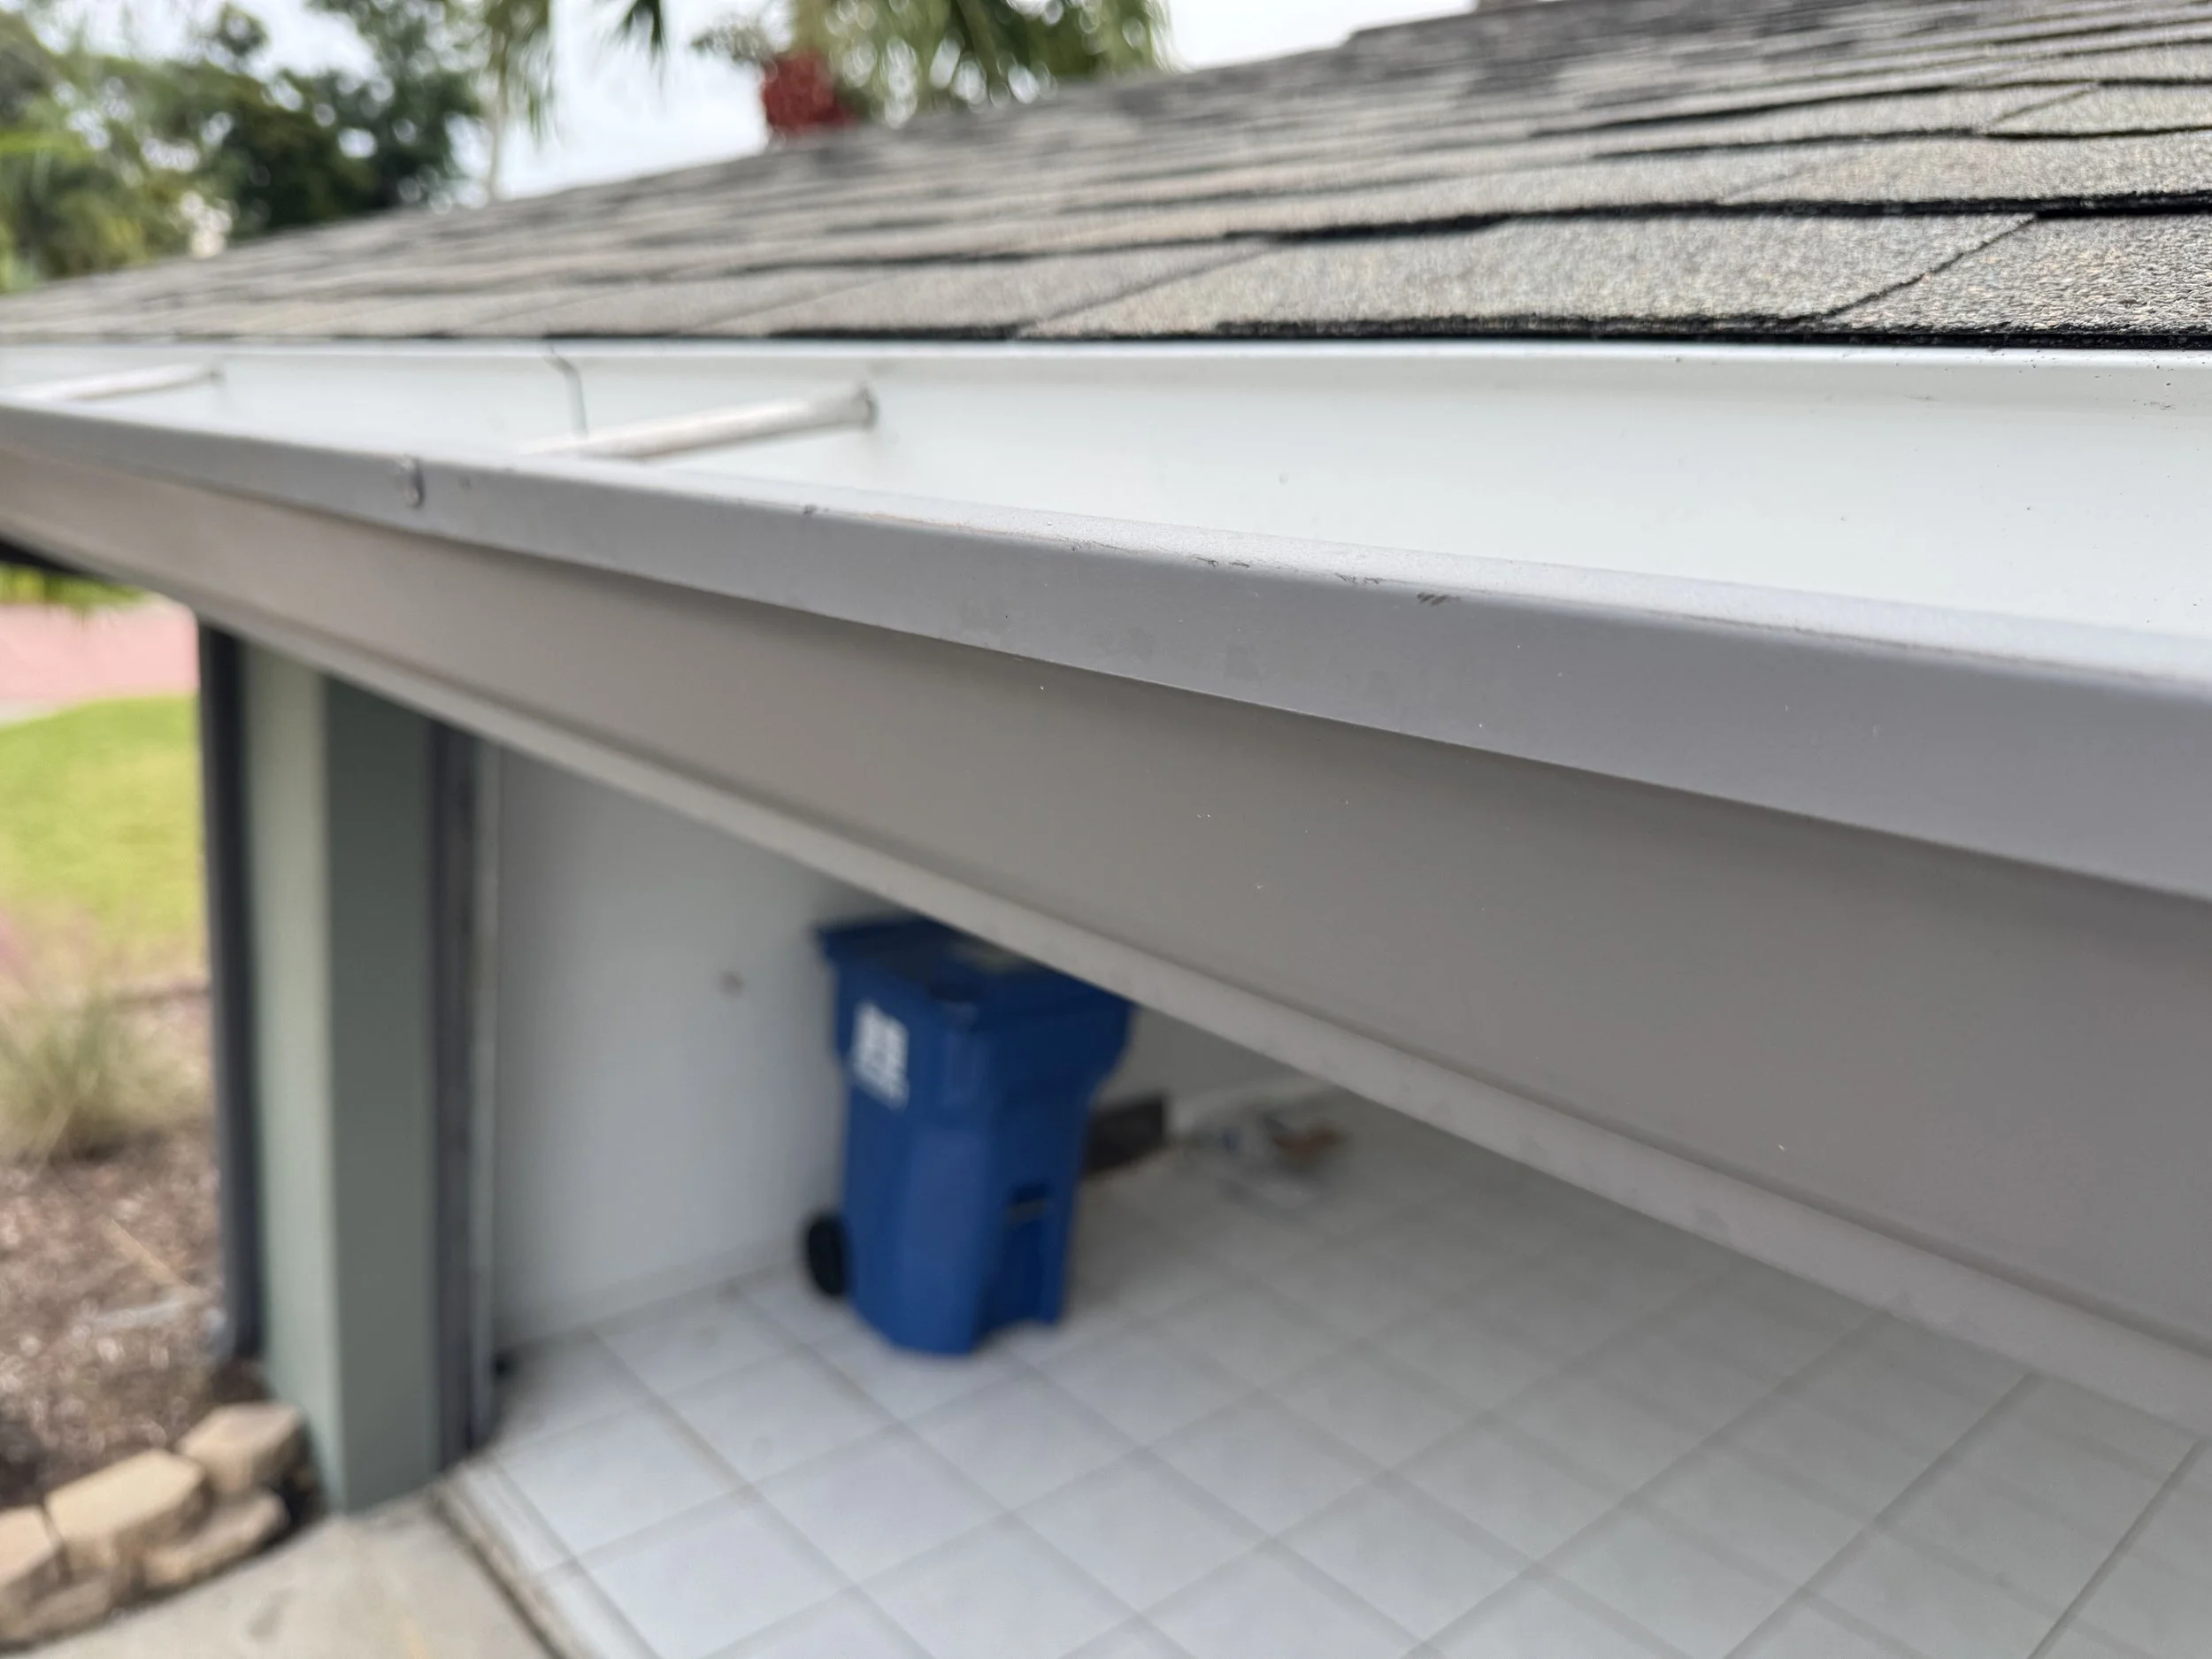
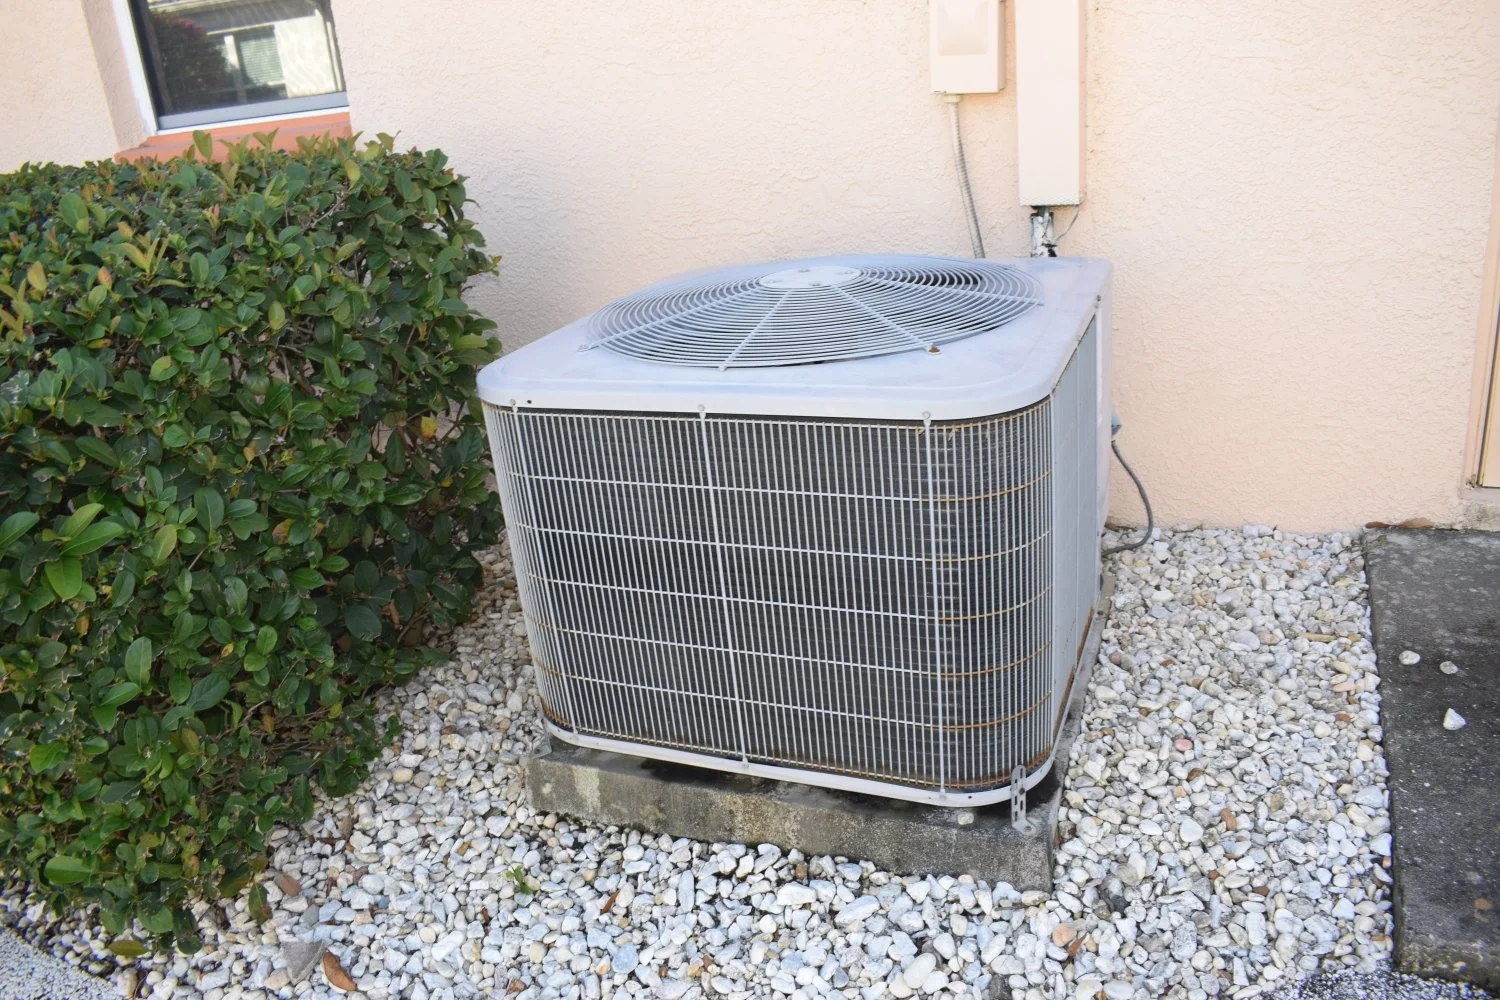
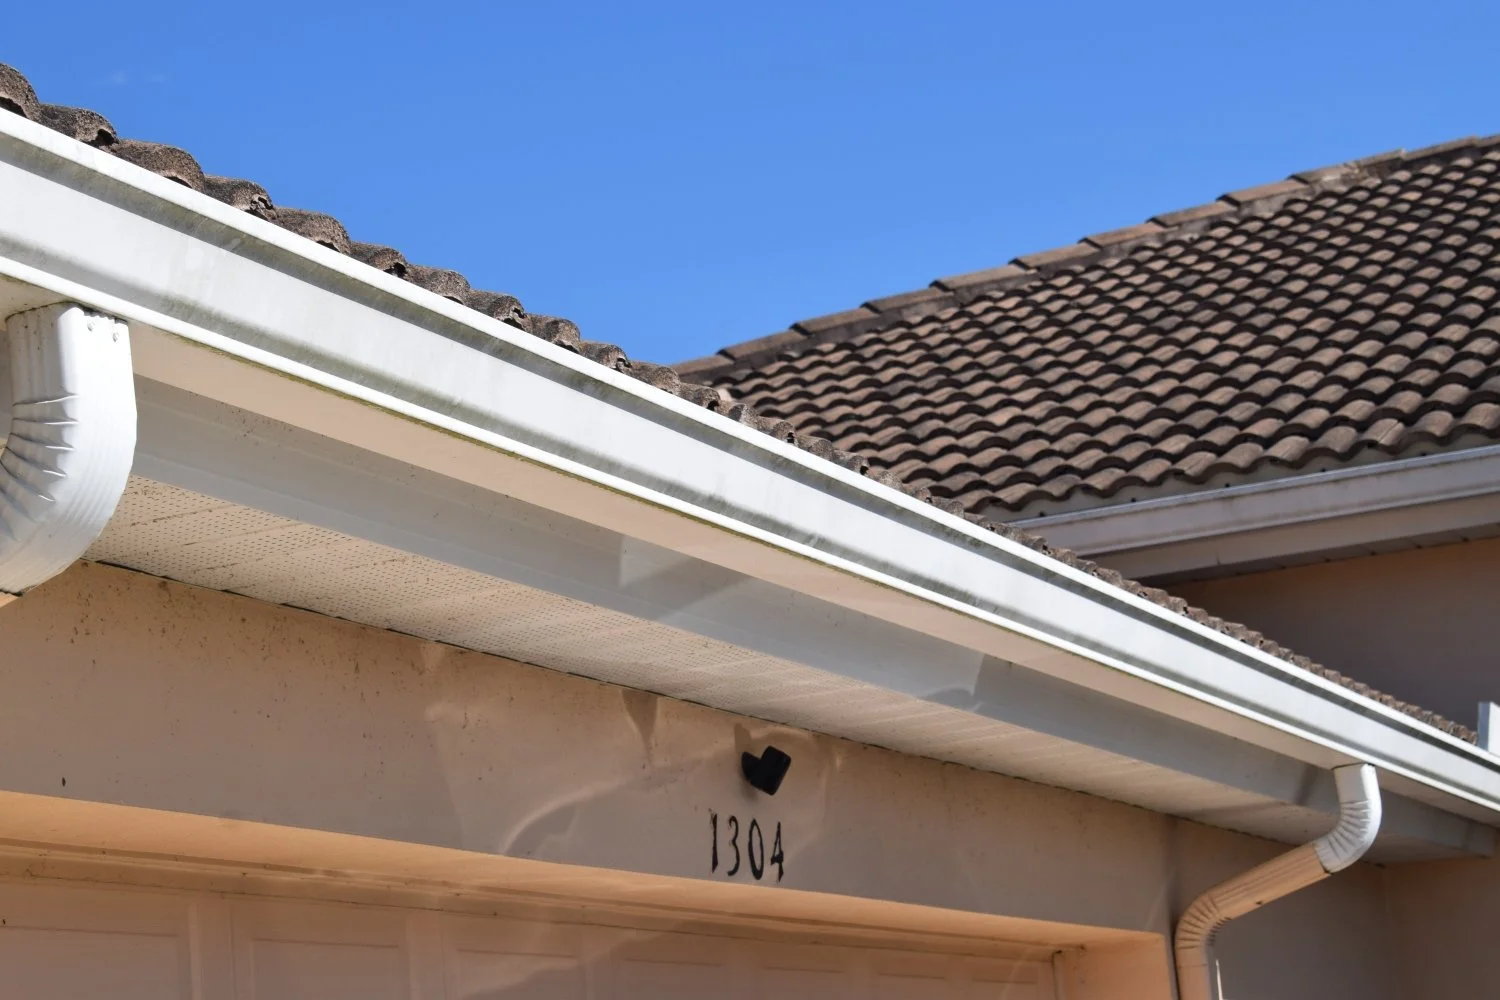
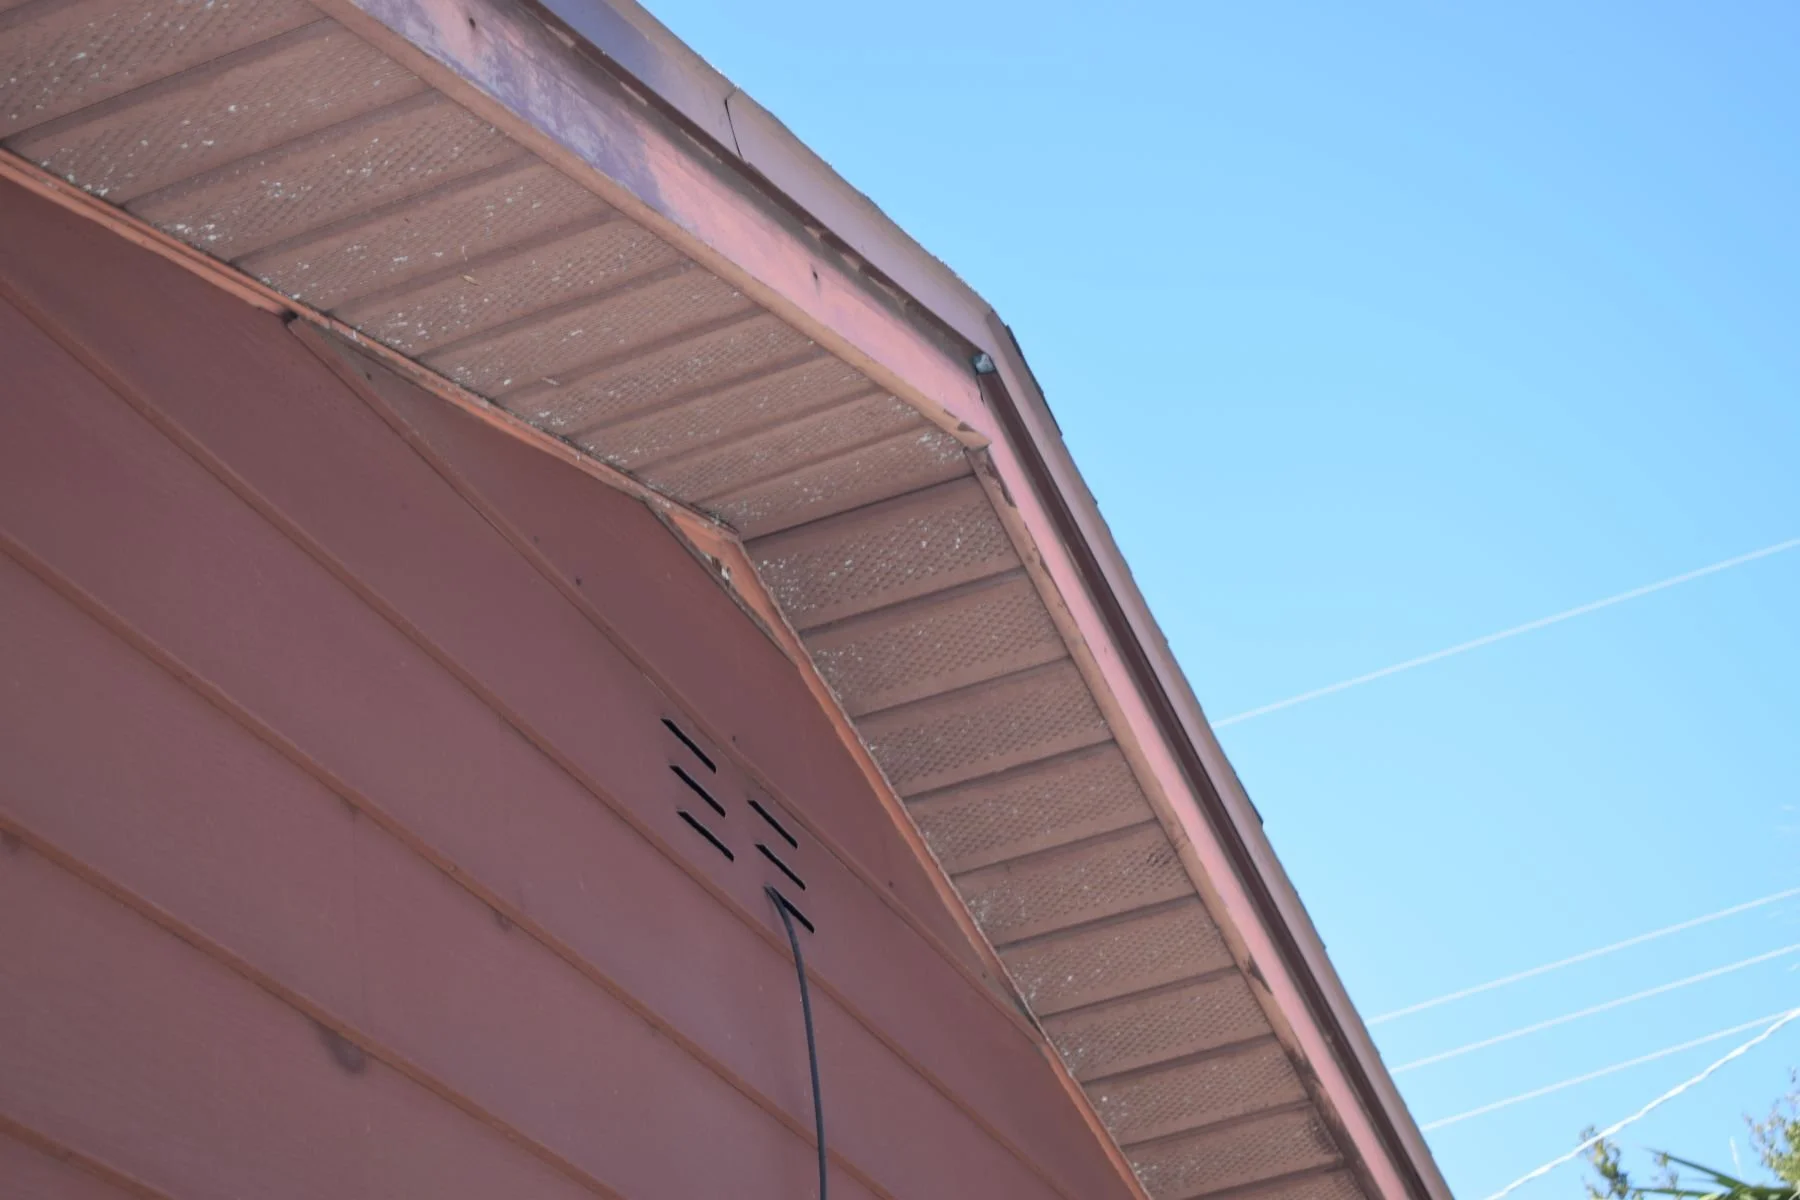
Roofline (from the ground): Photograph gutters, downspouts, exterior lights, and the roof edge/trim area. These photos can help show, for example, that gutters were straight and undented before a tree limb fell.
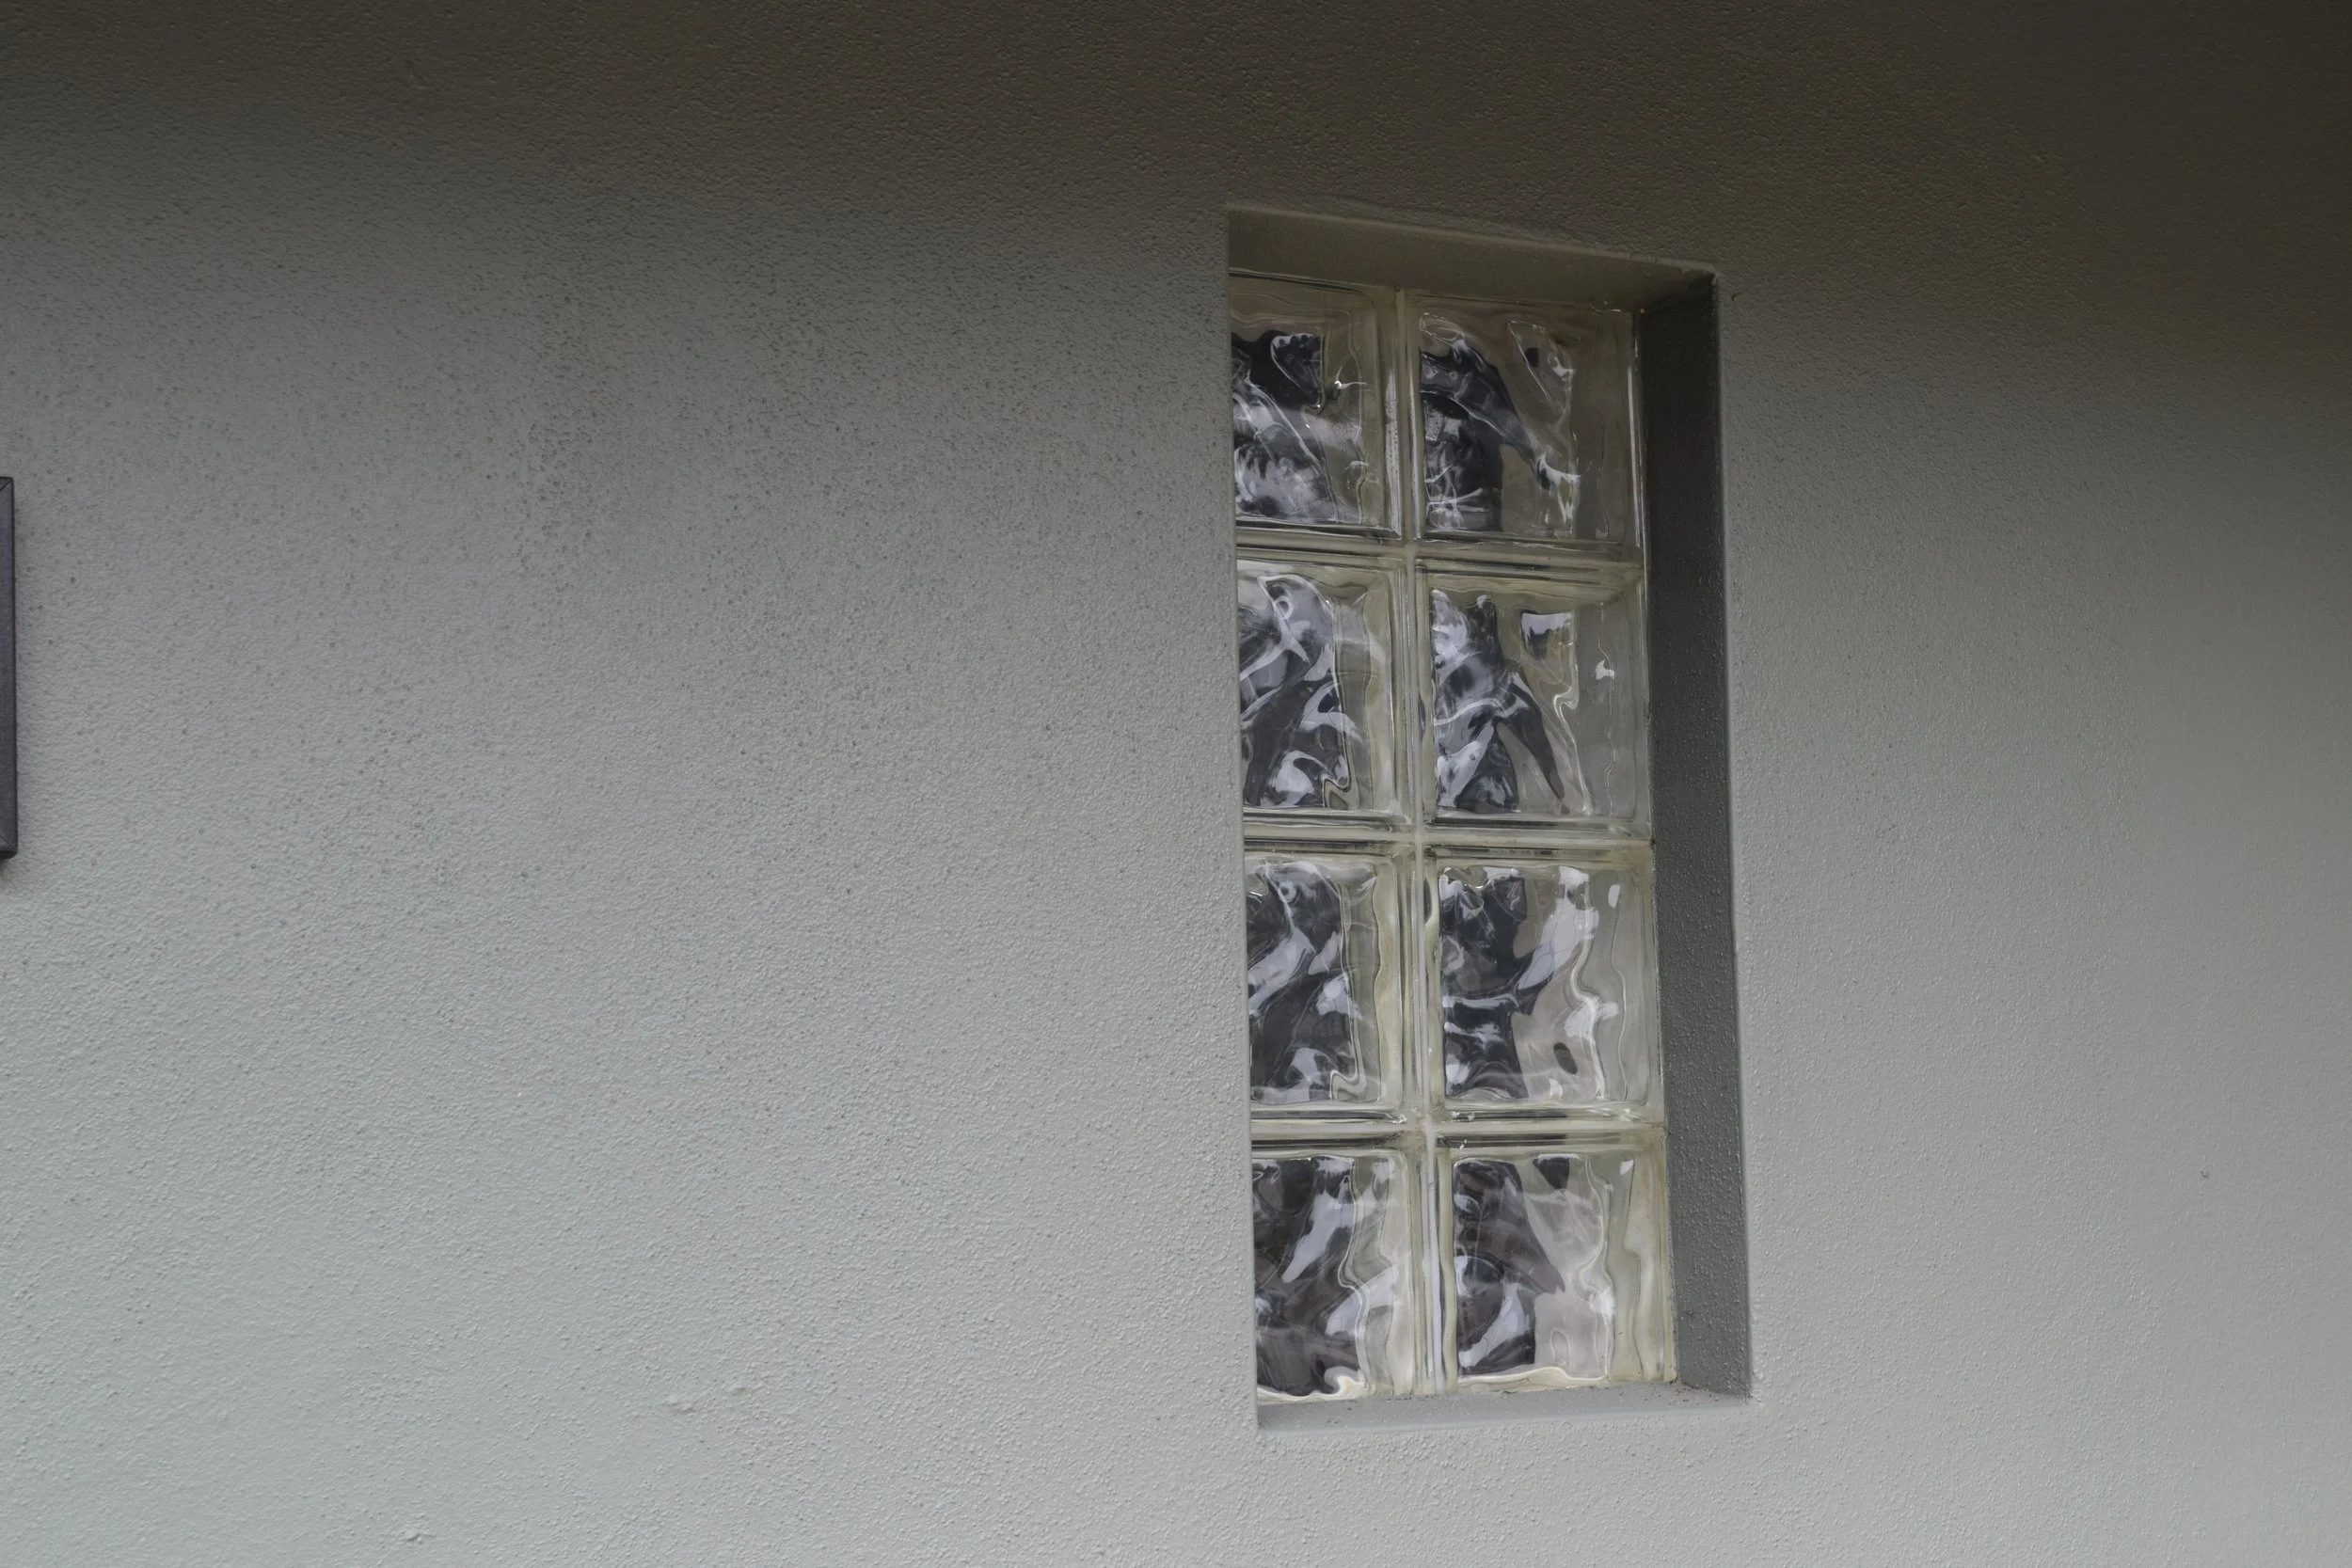
Windows: Take a photo of each window, including the screen and the sealant/caulk around the frame.
Interior Photos
Each room: Capture wide shots showing each wall, plus the ceiling and flooring.
Windows and surrounding areas: Photograph windowsills and the areas where the window meets the wall so the condition of caulk, drywall, and trim is visible.
HVAC vents and returns: Take a clear photo of each vent cover to document its condition.
Kitchen: Photograph cabinets and appliances. Include close-ups of cabinet bases (wear and water damage often show up there first).
Ceilings and corners: In addition to ceiling photos, take close-ups where the ceiling meets the walls and at wall corners.
Bathrooms: Photograph vanities/cabinets and baseboards. Over time, shower splash-out can damage trim, drywall, cabinets, and flooring—these photos help document that condition.